We started paining the house today...here are the first round of during photos.
Saturday, April 17, 2010
Friday, April 16, 2010
floor sagas continued

333 ft. of lumber, 100+ concrete anchors, 100+ 1/4-20 bolts, 150+ washers, 350 or so concrete screws, 140 douglas fir toung-and-grove flooring planks, and a whole mess of nails. clearly, there is still plenty of work to be done, but we have most of a porch floor.
shown here: 1) a bit of floor and implements of destruction 2) alger enjoying the smooth transit from
the back yard into the house. why is there nothing to trip over? 3) a typical anchor point, 1/4-anchor shimmed, leveled and pinned with concrete screws on both sides. this image will be history after tomorrow.
and ok, so blogger does not really facilitate layouts, so we'll just have to infer which photo goes with which comment by context.
a day of floor laying progress: as we approach the end of the porch, we witness the "last stand" 720 marshall porch tool barge... and it's gone, paving the way to further floor laying and progress in general.


Monday, April 12, 2010
wood floors and wainscoting

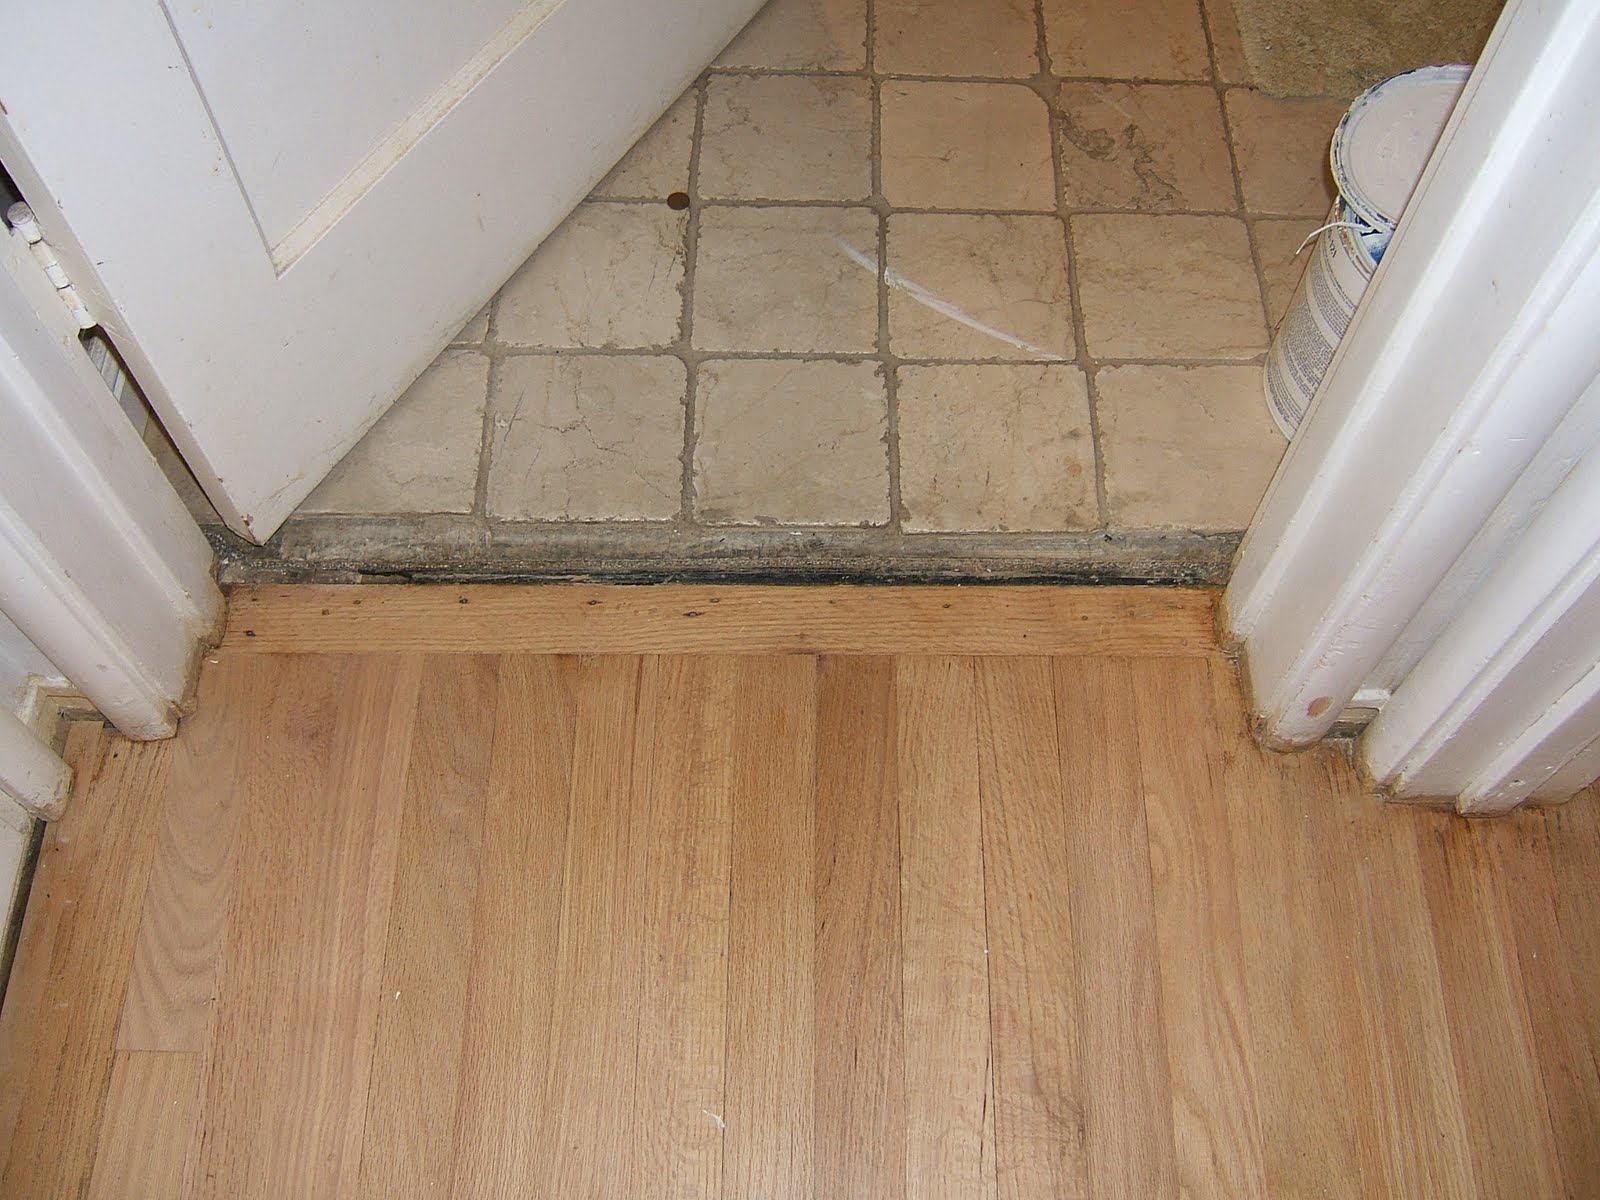
some time ago, there was mention of wood floors in the bathroom. as i recall, i went to the SCEC meeting for a few days, and rebecca went nuts on the bathroom floor tiles with a hammer and chisel end wrecking bar. "Good news," she said. "We do indeed have hard-wood floors in the bathroom."of course, we called troy and took to dismantling the rest of the tiles, this time with the aid of a 71/2" circular saw equipped with a diamond blade. having done the floors, we decided to get rid of the home-depot vanity and have a go at the walls. the walls had seen some tough days. there was obvious patching, and we found more interesting electrical work. by interesting, i mean a little scary, like a bunch of wires stuffed into a small box, with no cover, behind the vanity. the wire screws were totally melted and hot (zap hot) to the touch.
as per the condition of the walls, we decided to wainscot the whole thi
ng. as an added bonus, we used heavy trim with a little shelf running the perimeter of the bathroom. i used an interesting wedging technique with a couple of 2x4's to get the long trim pieces into place. if i'd had a free hand, i'd post a picture.we bought the vanity from an antique shop. we had a piece of glass cut for the top, drilled a few holes in it, ran some plumbing, and voila. sink.
the light fixture appears innocent enough, but we are particularly proud of it as well. rebecca found the fixture itself on some restoration site. after a few trips to OSH, we found electrical bits that fit well enough. after a few trips to the attic, i managed to set up a fixture box that would work for the fixture. we then removed the old hanging lights and installed a junction box where the previous owner had spliced the
lamp-cord in the open attic. done. also note, please, the tricky photography - we can see that the light is on, yet we can also see all the features of the lovely fixture. how does he do that?do not miss, of course, the beautiful reclaimed douglas fir floor. i am sure there will be more of that to see in the kitchen.
For the record...
I realize we haven't updated the blog in a LONG time but the camera has been broken. We have lots of good things to show you and once Mark figures out how to work the new SLR digital camera I bought him for his Birthday we will overwhelm our readers (all 2 of us) with copious photos documenting our progress.
Before we have our big reveal I thought I would post the old G-Maps pictures of our house (at least 1.5 years old). Actually, we are currently trying to paint the exterior (the weather is not cooperating) so the outside currently looks a lot worse then it does in these photos.

Sunday, February 14, 2010
Bathroom Pictures "Before":
Monday, December 28, 2009
more on the porch floor: walking on water
we officially have a floor in the porch. more correctly, we have some floor. a little bit of floor, which is to say not all of the floor. today we have about 38" of porch floor installed. but not painted. or stained, or whatever. the wood is beautiful, but largely as per the cost of materials and finishing, construction tolerances, and things of that nature, i think we're going to paint it, not finish it. it breaks my heart a little bit, since the wood is beautiful, but it is supposed to be a porch. i suppose we will make our final decision after we lay down the flooring we have already bought, which we could get away with staining if we decide to go that direction. 38 inches of floor. i think i mentioned in an earlier entry that the porch is about 36' or 37' long. also, only about 10' is leveled and ready for flooring, so we've still got a ways to go.
our neighbor let us borrow his floor nailer. it is a cool mechanical contraption; one lines it up with a joist and wails on the plunger with a big sledge hammer to drive little "cleat" nails at a perfect 45 degree angle right over the tongue, through the board, into the joist. of course, since most of the joists are pressure treated, we have to use galvanized or stainless hardware. oh yeah, and they don't make galvanized flooring nails for this thing, so i bought a $99 box of stainless steel nails (1000 count); a normal box is about $23. the truth is, after all that i've found that i prefer to hammer drive regular 2.5" galvanized finishing nails. i guess i'm a little old-school that way. on a more pragmatic level, with all the metal and giant holes from failed implantation of metal, sometimes it is beneficial to feel how the nails set and maybe drive one or two additional nails at an angle into the sides of the joists.
the truth is that building your own floor is very satisfying. i can only speak for myself, but when i step out the door and my floor catches me without creaking or groaning, it is a spiritual experience. for me, walking about on the floor that i built myself is like walking on water.
it makes a person think of famous carpenters - or at least step-sons of carpenters, said to have walked on water. was he actually walking on water, or did he just build himself a really nice floor one day, and in telling his friends and disciples was terribly misunderstood? growing up in a household with a professional carpenter, one is bound to learn a thing or two. in particular, if one had been away from the trade for a while and then built himself a nice floor, i think he'd be beaming over it. it is quite a thing to walk on a floor that one has built with his own hands.
our neighbor let us borrow his floor nailer. it is a cool mechanical contraption; one lines it up with a joist and wails on the plunger with a big sledge hammer to drive little "cleat" nails at a perfect 45 degree angle right over the tongue, through the board, into the joist. of course, since most of the joists are pressure treated, we have to use galvanized or stainless hardware. oh yeah, and they don't make galvanized flooring nails for this thing, so i bought a $99 box of stainless steel nails (1000 count); a normal box is about $23. the truth is, after all that i've found that i prefer to hammer drive regular 2.5" galvanized finishing nails. i guess i'm a little old-school that way. on a more pragmatic level, with all the metal and giant holes from failed implantation of metal, sometimes it is beneficial to feel how the nails set and maybe drive one or two additional nails at an angle into the sides of the joists.
the truth is that building your own floor is very satisfying. i can only speak for myself, but when i step out the door and my floor catches me without creaking or groaning, it is a spiritual experience. for me, walking about on the floor that i built myself is like walking on water.
it makes a person think of famous carpenters - or at least step-sons of carpenters, said to have walked on water. was he actually walking on water, or did he just build himself a really nice floor one day, and in telling his friends and disciples was terribly misunderstood? growing up in a household with a professional carpenter, one is bound to learn a thing or two. in particular, if one had been away from the trade for a while and then built himself a nice floor, i think he'd be beaming over it. it is quite a thing to walk on a floor that one has built with his own hands.
Sunday, October 4, 2009
oh yeah, construction...
so yeah, construction. we declared an end to major combat operations on the porch a month ago, but we've been working and tearing things up since then. in the last couple of weeks, we've put in 4 windows. day before yesterday we put in two doors and a bunch of giant beams. i started building the floor.
as expected, nothing about the floor has gone as expected. so we're right on target, right? this will require pictures to properly convey the complexity of the problem. let's toss out some numbers just for fun. the porch is about 37' long by 9' wide. the floor slopes down slightly away from the house about 1.5" in three directions. the floor must be:
1) level
2) strong enough that we don't fall through it
3) fairly even
4) not too high off the ground; we've already installed doors.
so the way we do the floor is to bolt 2x(something) lumber to the concrete, level it, put flooring on top. the primary, strong attachment points are called drop-in anchors; secondary shim-and-pin points are attached by tapcon concrete screws. stringers run every 15" or so (<=16"), and shim points need to be about the same. each point must be leveled to its 4 neighboring points. so in physics land, we call this a problem with MANY degrees of freedom.
as expected, nothing about the floor has gone as expected. so we're right on target, right? this will require pictures to properly convey the complexity of the problem. let's toss out some numbers just for fun. the porch is about 37' long by 9' wide. the floor slopes down slightly away from the house about 1.5" in three directions. the floor must be:
1) level
2) strong enough that we don't fall through it
3) fairly even
4) not too high off the ground; we've already installed doors.
so the way we do the floor is to bolt 2x(something) lumber to the concrete, level it, put flooring on top. the primary, strong attachment points are called drop-in anchors; secondary shim-and-pin points are attached by tapcon concrete screws. stringers run every 15" or so (<=16"), and shim points need to be about the same. each point must be leveled to its 4 neighboring points. so in physics land, we call this a problem with MANY degrees of freedom.
Subscribe to:
Posts (Atom)